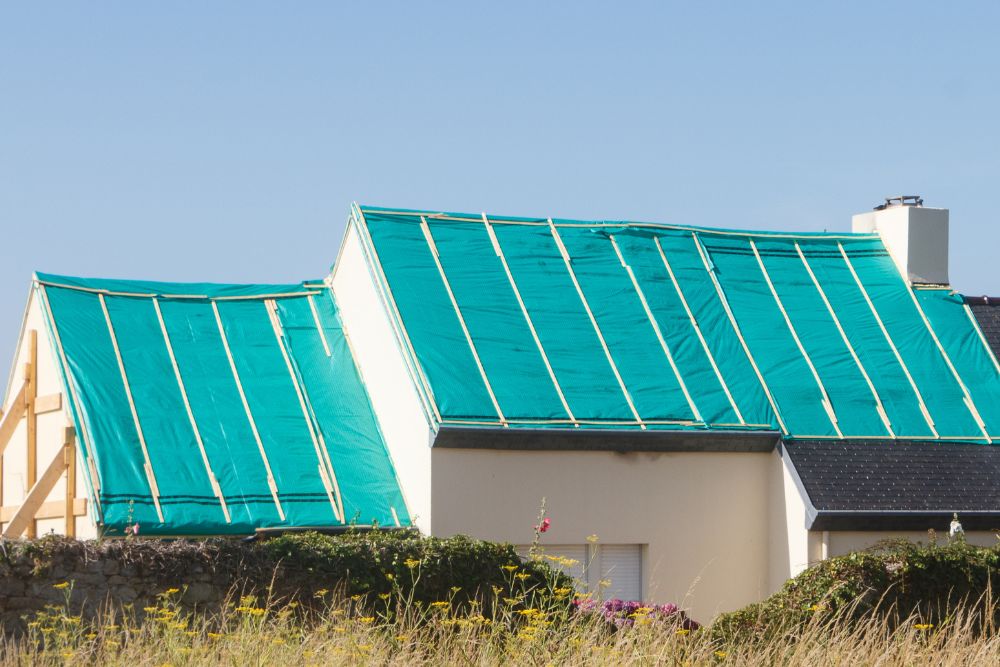
If you need a quick fix to a roof leak, you may need to tarp your roof. In this article, we will cover how to properly tarp your roof so that it stays secure until you are able to do a proper roof repair.
Assess Roof Damage
Start by checking the roof for water stains or light coming through to see how much damage there is. Use a sturdy ladder to safely climb up and look for any visible signs of damage from water leaks.
Take pictures of the damaged areas to keep a record for insurance and future needs. Measure the size of the damaged area to know what size tarp you’ll need for proper coverage.
Avoid working on wet or steep roofs for safety reasons. By inspecting the roof closely, you can identify the areas that need immediate attention and plan for tarping effectively.
Make sure you know the extent of the damage before tarping the roof to stop more water from getting in.
Gather Necessary Materials
Gather the items you need for the job, like a strong tarp, plywood, and the right fasteners.
Make sure you have the tools, such as nails or screws, to secure the tarp properly.
Being prepared with all the necessary materials will make covering the roof leak easier.
Materials Needed
To cover a roof leak with a tarp in Florida, you’ll need a heavy-duty tarp, anchor boards, sandbags, nails, and screws. It’s important to secure the tarp properly to prevent water damage and ensure stability in Florida’s changing weather.
Choosing the right materials is crucial for a successful temporary roof covering. The cost of these materials in Florida ranges from $0.70 to $2.00 per square foot, depending on the size and complexity of the roof. Seeking advice from a professional can help you select the right tarp and install it correctly.
Remember to use anchor boards and sandbags to secure the tarp and prevent flapping, water seepage, and debris from getting in.
Tools Required
Consider having these essential tools on hand for tarping your roof: a ladder, safety gear (gloves, goggles, helmet), measuring tape, tarp, thin wooden boards for support, and a cordless drill for securing the tarp. Here’s what you’ll need:
- Measuring Tool: Use a measuring tape to cut the tarp to fit your roof.
- Thin Wooden Boards: These boards provide stability when securing the tarp.
- Heavy-Duty Tarp with UV Protection: Choose a tarp with UV inhibitors for durability.
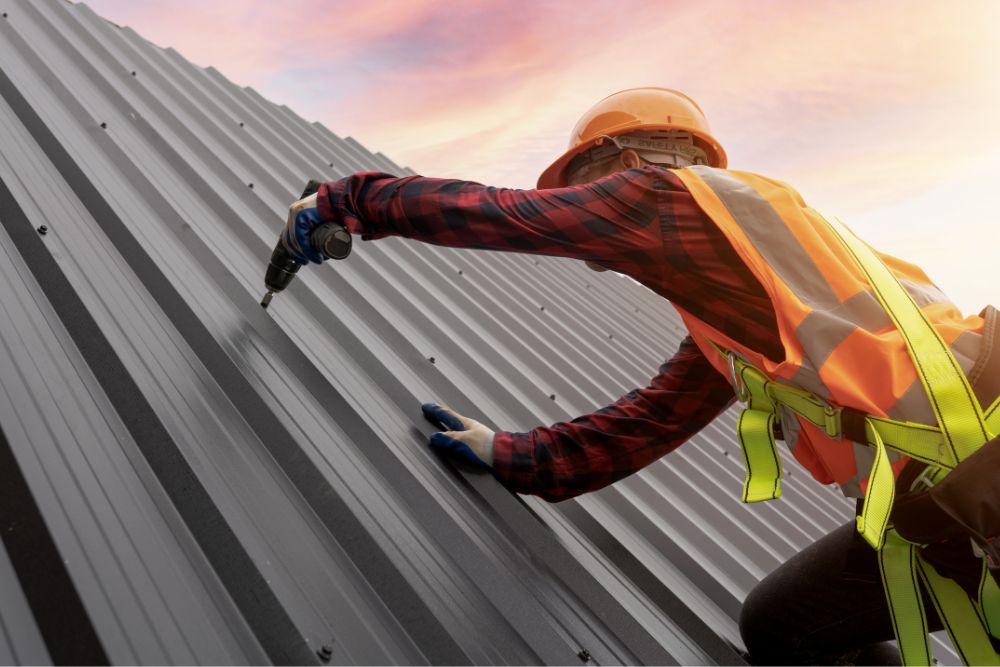
- Safety Gear: Wear gloves, goggles, and a helmet for your safety during the tarping process.
Preparation Steps
If you have all the necessary tools and materials ready, the first step in preparing to cover a roof leak with a tarp is to gather essential items like a heavy-duty tarp, measuring tool, ladder, safety equipment, and anchor boards. Make sure you have enough anchor boards or sandbags to secure the tarp properly during installation.
Consider the size of the damaged area and choose a tarp that adequately covers it. Double-check the availability of all required tools like nails or screws before starting the tarping process. Remember to take photos of the damaged area for documentation and insurance purposes before securing the tarp.
Measure Tarp Coverage Area
To measure the tarp coverage area, start by pinpointing the exact spot of the roof leak.
Choose a tarp size that will cover the damaged area with some extra to spare.
Secure the tarp tightly to avoid water leakage and safeguard your roof in Florida.
Roof Leak Location
To find out the size of tarp needed to cover the roof leak, follow these steps:
- Check the Damage: Locate the roof leak and see how big the damaged area is.
- Mark the Spot: Use chalk or tape to outline the damaged part on the roof.
- Measure the Size: Use a measuring tool to figure out the length and width of the damaged area.
- Factor in Water Flow: Make sure the tarp is larger than the damaged area to prevent water from seeping in.
Tarp Size Selection
To determine the right tarp size for covering a roof leak, accurately measure the damaged area. Choose a tarp that’s larger than the damaged section to ensure proper coverage and protection.
Select a heavy-duty tarp with the correct dimensions to cover the leak effectively. Extend the tarp past the damaged area to prevent water seepage and add extra protection.
Accurate measurement and choosing the correct tarp size are essential for successful temporary roof coverage. Ensure the tarp completely covers the damaged area for a reliable temporary solution until permanent repairs can be made.
Securing Tarp Properly
Need to make sure your tarp is covering the damaged area securely? Here’s how to do it right:
- Measure Precisely: Get the right size tarp by measuring the damaged spot accurately.
- Get Enough Coverage: Make sure the tarp goes at least 3 feet beyond the damaged area for full protection.
- Use Anchors: Keep the tarp in place with anchor boards or sandbags to stop it flapping in strong winds.
- Secure with Nails or Screws: Use nails or screws to fasten the tarp properly and prevent water and debris from getting in.
Follow these steps to cover the leak and keep your roof safe from more damage.
Prepare Roof Surface
Clear any debris and obstacles from the roof surface to make it safe to work on. Inspect the roof for damage or leaks before tarping. Ensure proper water drainage by clearing gutters and downspouts to prevent water buildup on the tarp. Make sure the roof surface is dry to prevent slipping accidents.
Check for weak areas in the roof structure that may need reinforcement before laying the tarp. Use the right tools, like screws, to secure the tarp properly. Preparing the roof surface well will create a stable base for covering the leak. Taking these steps will help ensure a successful tarping process.
Position Tarp Over Leak
To cover a roof leak with a tarp, follow these steps:
- Place the tarp over the damaged area to stop water from getting inside.
- Extend the tarp past the damaged area for extra protection.
- Secure the tarp with anchor boards to keep it in place during strong winds or heavy rain.
- The main goal is to shield your home from water damage until permanent repairs can be done.
Secure Tarp in Place
When securing the tarp over the roof leak in Florida, make sure to use anchor boards or sandbags to keep it in place and prevent further damage. This will help stabilize the tarp against strong winds and heavy rain, reducing the risk of water seeping under it and causing more problems inside your home. Ensure the tarp is tightly fastened to prevent flapping in the wind, which could lead to displacement.
It’s important to secure the tarp properly to maintain its coverage and durability in bad weather. Avoid using nails or screws directly on the roof surface to prevent additional damage. Regularly check the tarp for any shifting or loosening, and address any issues promptly. By taking these precautions, you can effectively cover the costs of repairing the roof leak.
Monitor Tarping Effectiveness
Regularly check the tarp for tears, shifting, or signs of water seepage to make sure it covers the roof leak effectively. After each storm or heavy rainfall, inspect the tarp for any damage or movement that could harm its ability to protect the roof.
Also, check for any debris on the tarp that might cause water to pool or block proper drainage off the roof. Watch for any mold or mildew under the tarp, as it could mean there’s too much moisture or the coverage isn’t enough.
- Check the tarp for tears, shifting, or water seepage.
- Inspect for damage after storms or heavy rain.
- Look for debris that could block water drainage.
- Watch for mold or mildew, which could indicate moisture issues.
Conclusion
After covering the roof leak with a tarp, check regularly for tears or leaks. Remember to wear safety gear and plan for permanent repairs soon.
Acting promptly can prevent more damage and safeguard your home. Stay vigilant and monitor the tarp to ensure it continues to protect effectively.
If your roof is damaged and you need a roofer in Miami to fix it, be sure to contact us.


